DX cluster in the amateur radio logbook: Telnet and setup
The Telnet functions, WWV archive, macros and zoom function are briefly described here.
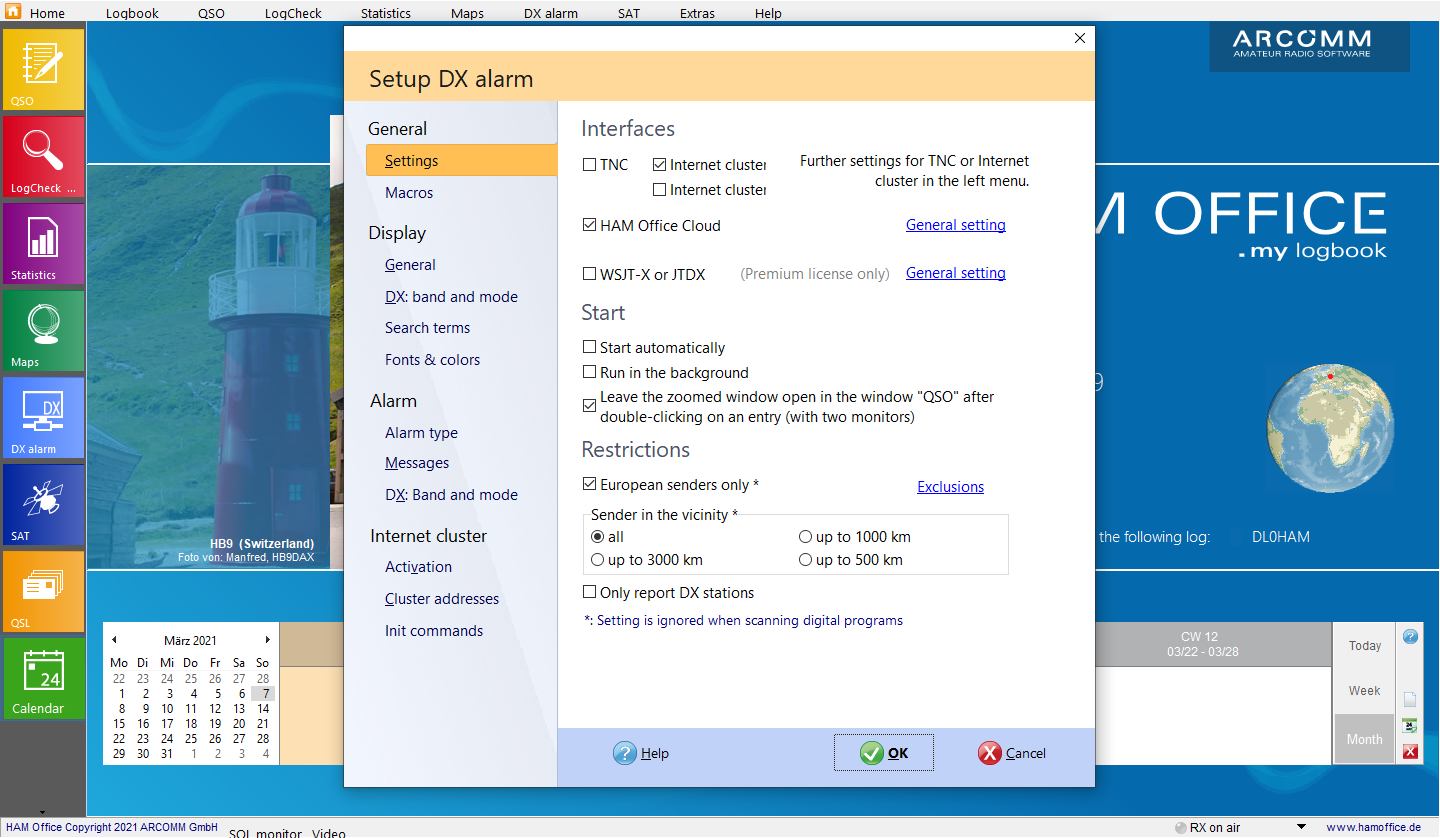
Pic below:1. In the cluster setup you can activate either TNC or Telnet or both.
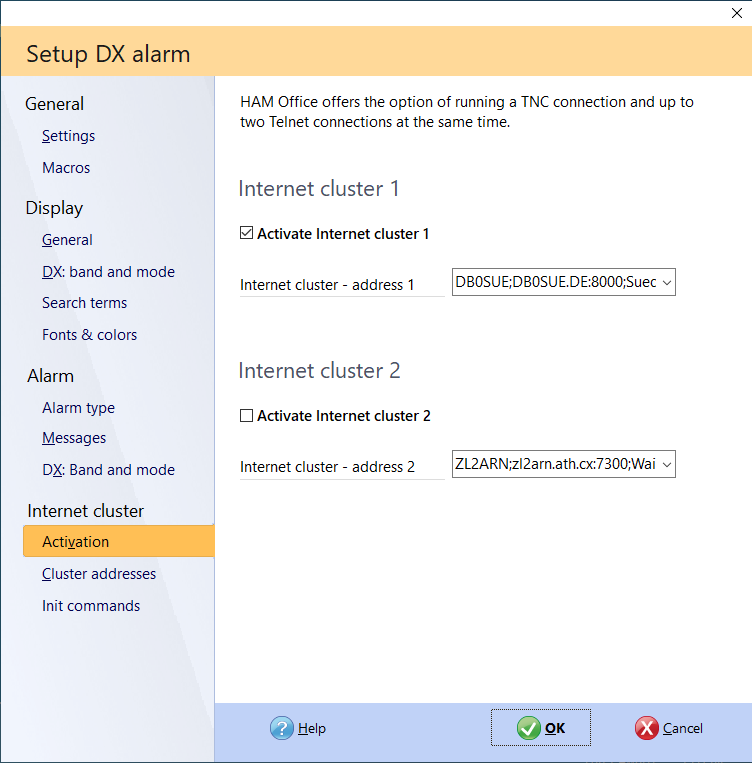
Pic below: 2.
Telnet can also be activated via this tab.
The selection fields next to it allow the selection of cluster addresses. Via the tab below you can enter new cluster addresses or edit existing addresses. The program is already delivered with a list of cluster addresses.
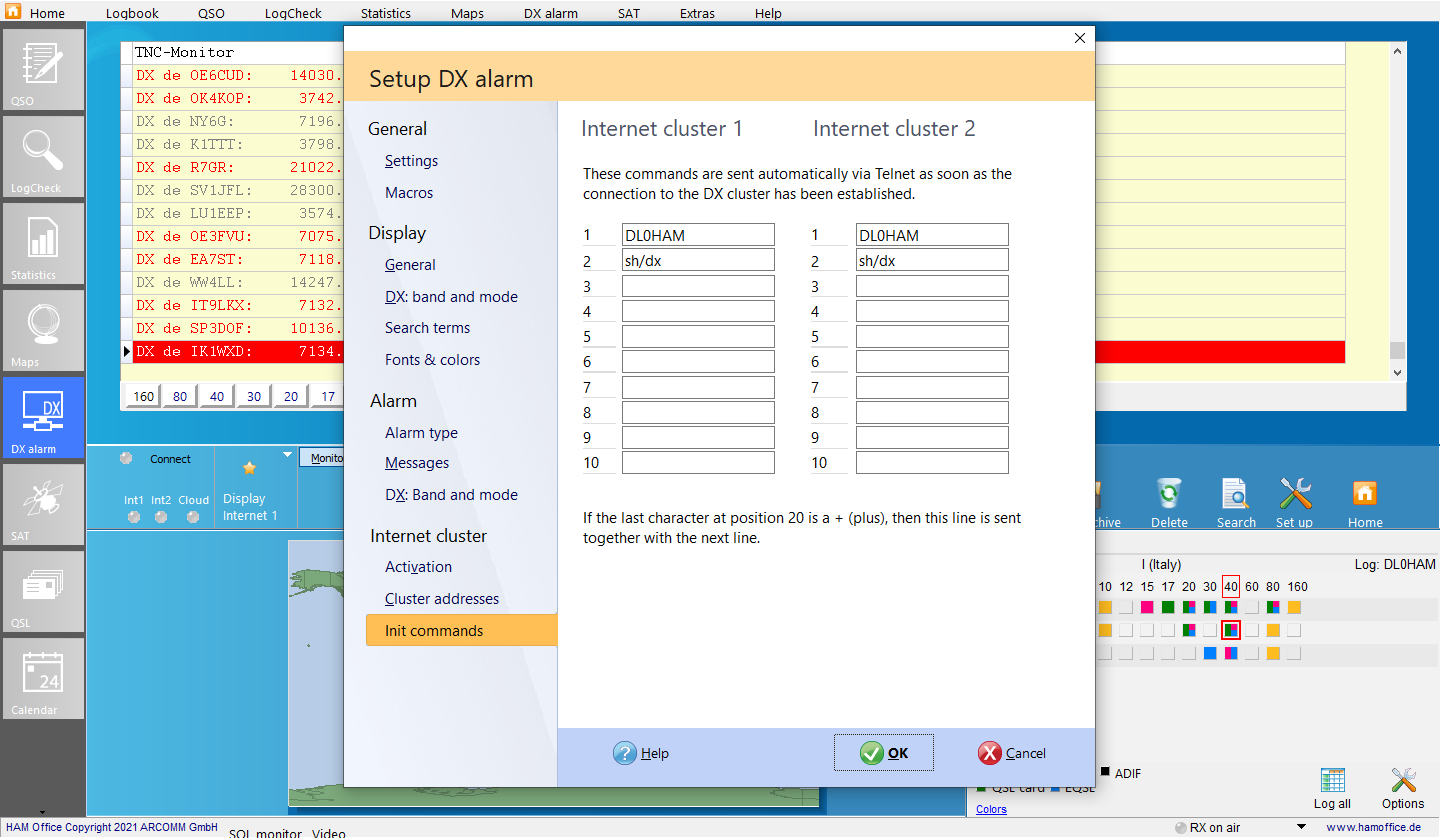
Pic below: 3. In this tab you can enter initialization commands which are automatically sent when connected to the cluster.
Pic below: 4. You can use the options next to the left button bar to switch between the TNC and one of the two Telnet monitors.
Pic below: 5.
Texts to be sent
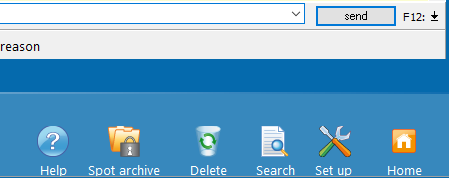
On the left of the "send" button you can switch to a list that saves the last 10 input texts.
6. The switch to the right of the "send" button allows you to select macros. These can be specified in advance in the cluster setup. Macros are a sequence of commands to the TNC or the Telnet cluster.
7. If you are in the WWV window , you can now view the WWV archive with all the WWV spots and search for entries in it.
Pic below: 8. The Zoom function in the QSO input window enables you to switch to the large cluster window. After calling the zoom function, you can now double-click the mouse to enter the current DX entry in the fields of the QSO entry.


